Step-by-Step: How to Create Custom 3D Printed Gifts
AG
Introduction to 3D Printed Gifts
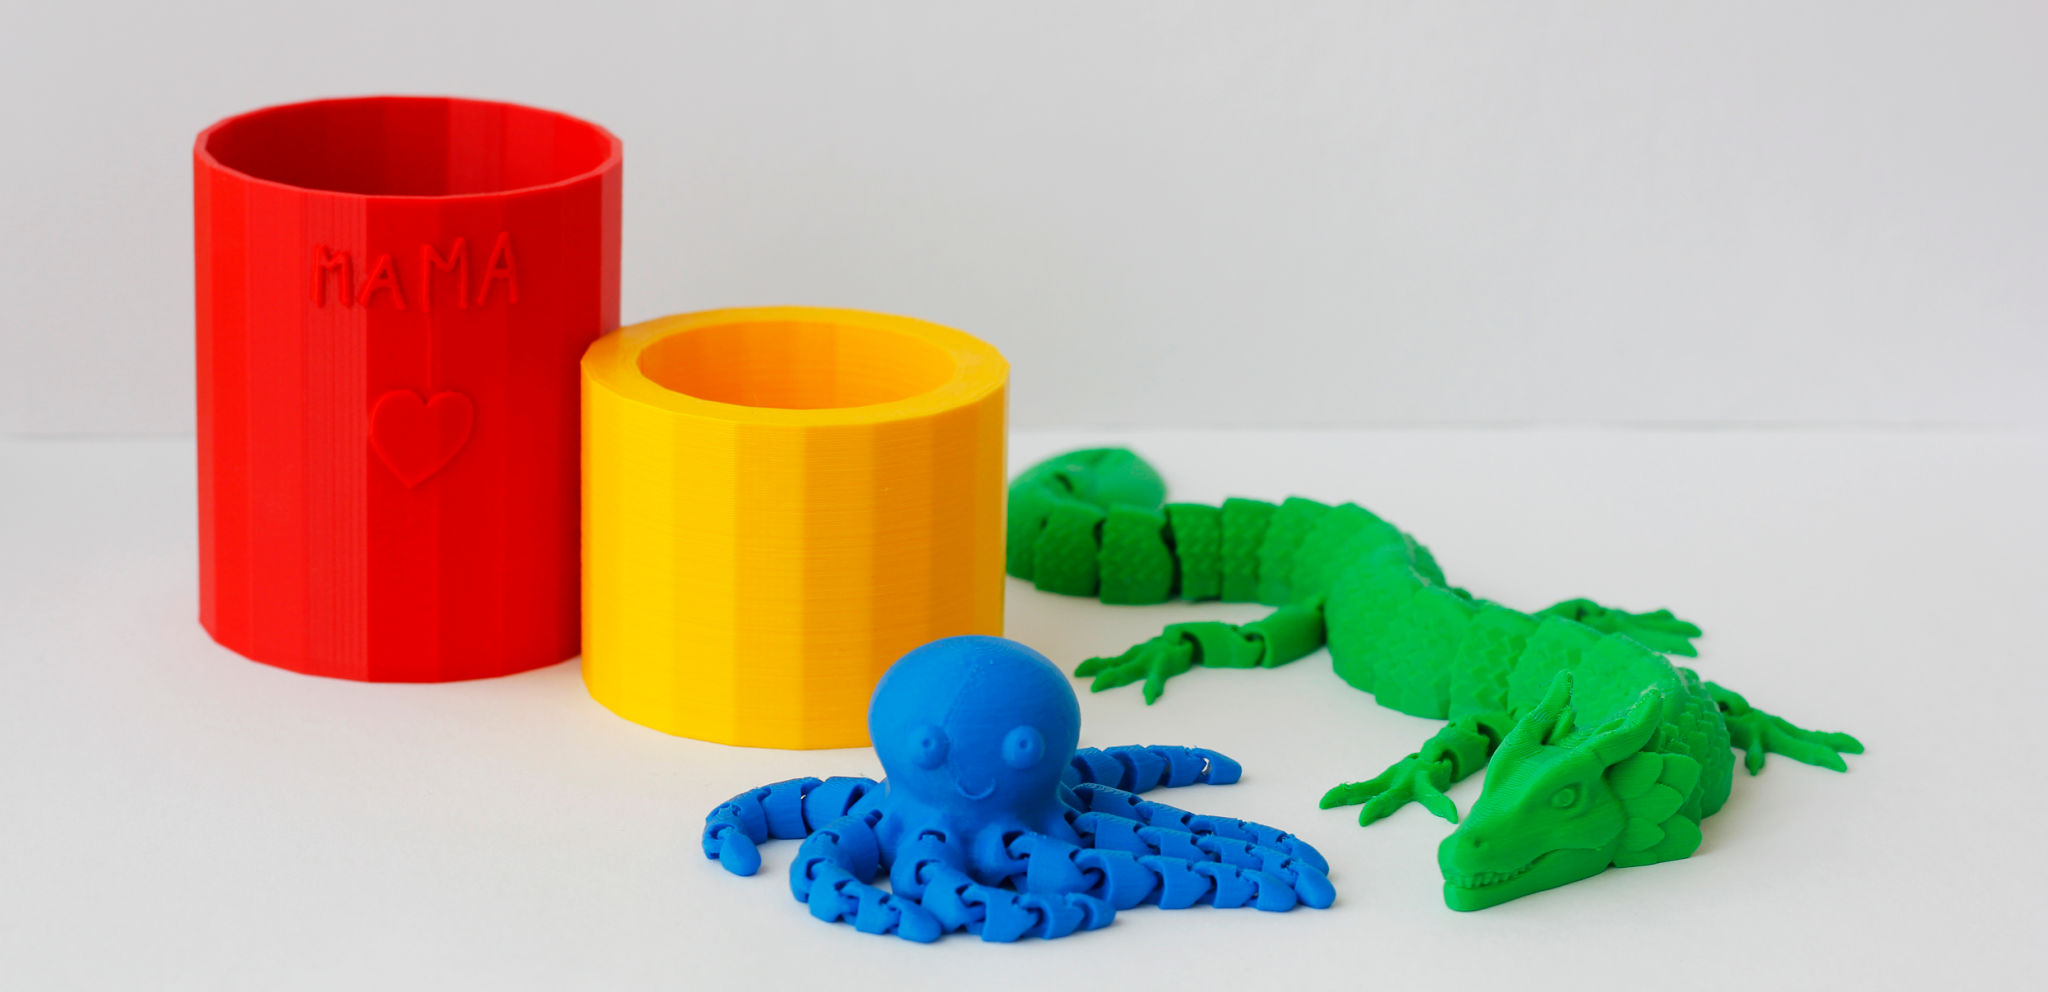
In recent years, 3D printing has revolutionized the way we think about gift-giving. The ability to create customized, one-of-a-kind items has made it possible to produce gifts that truly reflect the recipient's personality and interests. Whether it's for a birthday, anniversary, or holiday, 3D printed gifts offer a unique and personal touch that can't be matched by store-bought items.
Creating custom 3D printed gifts may seem daunting at first, but with the right tools and guidance, anyone can master the basics. In this step-by-step guide, we'll walk you through the entire process—from design to printing—so you can create your own personalized creations.

Step 1: Conceptualize Your Design
The first step in creating a custom 3D printed gift is to come up with an idea. Think about the recipient's hobbies, interests, or needs. Are they a fan of a particular movie or book? Do they have a favorite animal or flower? Your goal is to design something that will be meaningful and appreciated.
Once you have an idea in mind, sketch it out on paper or use a digital drawing tool. This will help you visualize the final product and refine your design before moving on to the next stage.
Research and Inspiration
It's helpful to browse online platforms like Thingiverse or MyMiniFactory for inspiration. These sites offer thousands of user-uploaded designs that can spark your creativity. You can also find free or paid design files that can be modified to suit your needs.
Step 2: Create the 3D Model
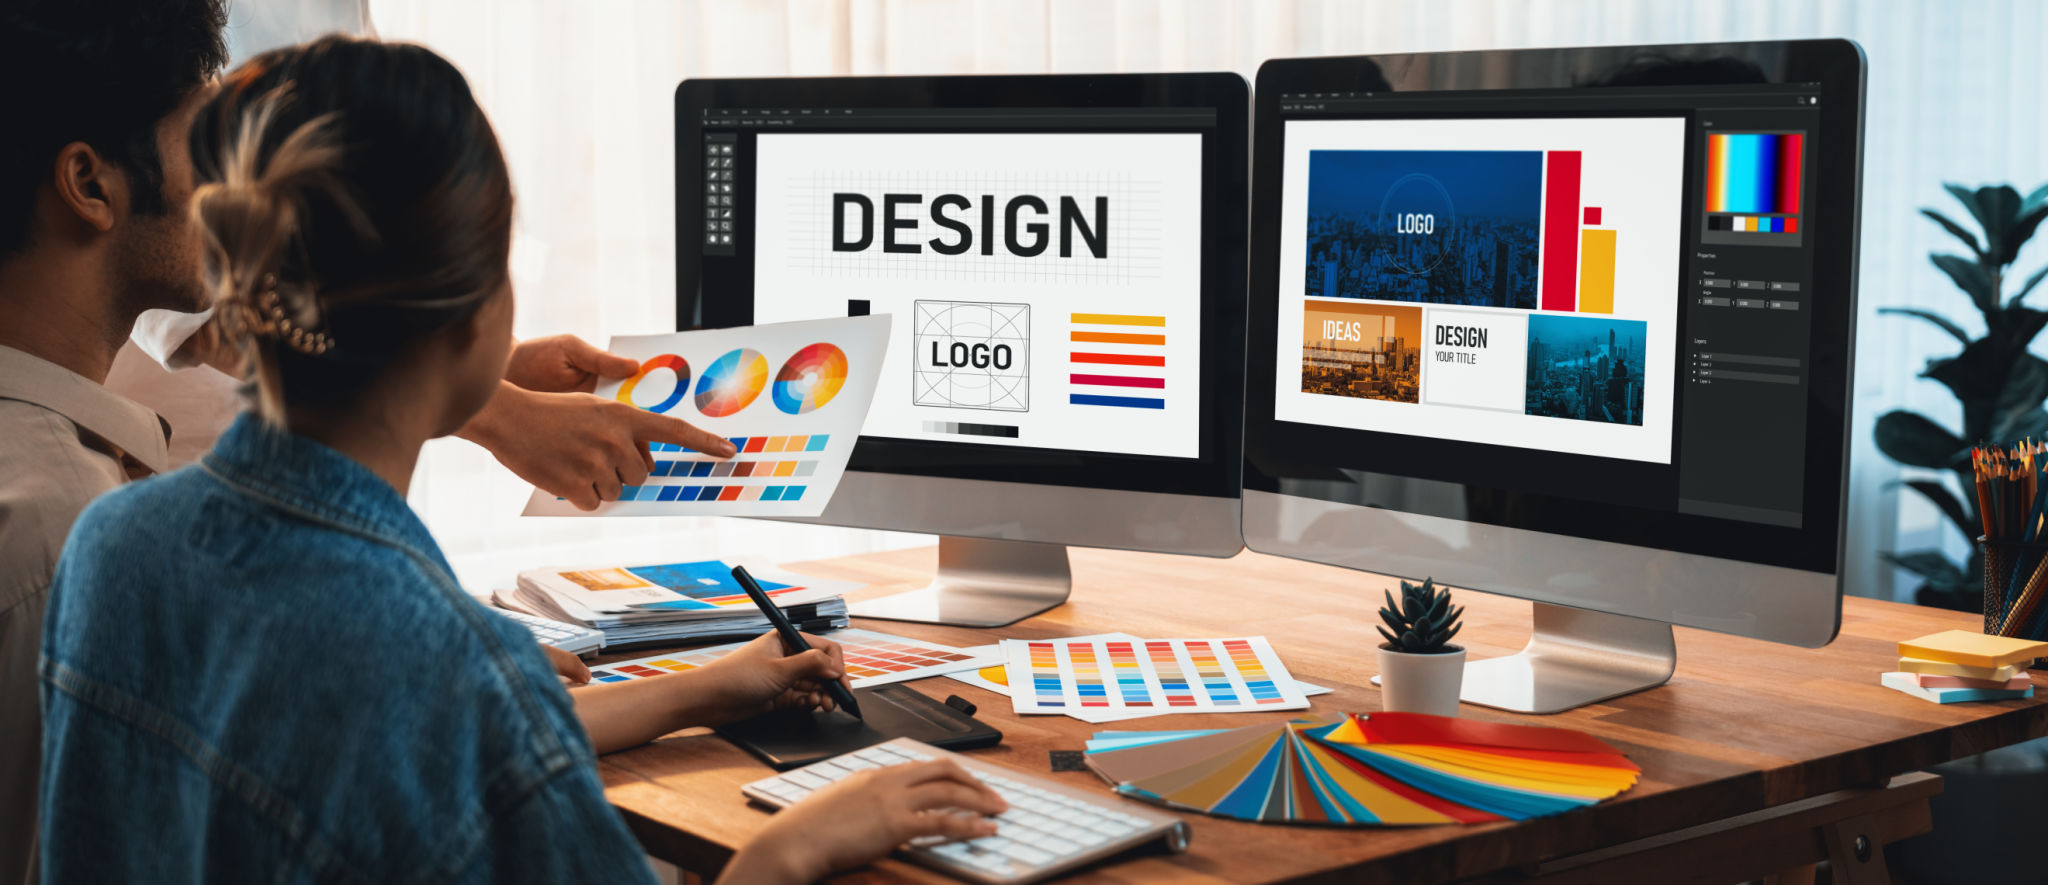
With your concept in hand, it's time to create a digital 3D model of your gift. There are several software options available for this purpose, ranging from beginner-friendly to more advanced tools. Popular choices include TinkerCAD for its ease of use and Blender for more detailed work.
If you're new to 3D modeling, start with basic shapes and gradually add details. Don't be afraid to experiment with different elements until you achieve the desired look. Many software programs offer tutorials to guide you through the process.

Step 3: Prepare for Printing
Once your model is complete, you'll need to prepare it for printing. This involves exporting the file in a format compatible with your 3D printer, such as STL or OBJ. Next, import the file into slicer software like Cura or PrusaSlicer, which will convert your model into instructions that the printer can understand.
During this step, you'll set parameters such as layer height, infill density, and print speed. Experiment with these settings to find the best balance between print quality and time.
Choose the Right Materials
The material you choose can significantly impact the final result. Common materials include PLA for its ease of use and availability in various colors, and ABS for its strength and durability. Consider the purpose of your gift and select a material that best suits its function.

Step 4: Print Your Gift
With everything set up, it's time to start printing! Ensure that your 3D printer is properly calibrated and the build plate is clean. Once the print begins, monitor it regularly to address any issues that might arise, such as warping or filament jams.
Patience is key during this phase. Depending on the size and complexity of your model, printing can take anywhere from a few hours to an entire day. Use this time to prepare any additional elements, like packaging or embellishments.
Step 5: Post-Processing and Finishing Touches
After printing, remove any support structures and sand down rough edges for a smooth finish. If desired, you can enhance your gift by painting it or adding decals. These finishing touches will give your gift a professional look and feel.
Consider adding personalization, such as engraving a name or special date onto the gift. This extra effort will surely make your creation stand out.

Conclusion
Creating custom 3D printed gifts is a fulfilling endeavor that allows you to express creativity while crafting something meaningful for loved ones. By following these steps, you'll gain confidence in your ability to design and produce unique gifts that will be cherished for years to come.
Embrace the world of 3D printing and let your imagination run wild. The possibilities are endless when it comes to crafting personalized gifts that leave a lasting impression.
